What if you could unleash your creative potential and produce music like a pro? With Ableton Live DAW, that possibility is at your fingertips. Whether you’re a seasoned musician or just starting, mastering this powerful software can transform the way you create and perform music. Let’s dive into the various features and functionalities of Ableton Live DAW, helping you to navigate through its complexities and enabling you to make your sonic dreams a reality.
This image is property of cdn.shopify.com.
Understanding Ableton Live: An Overview
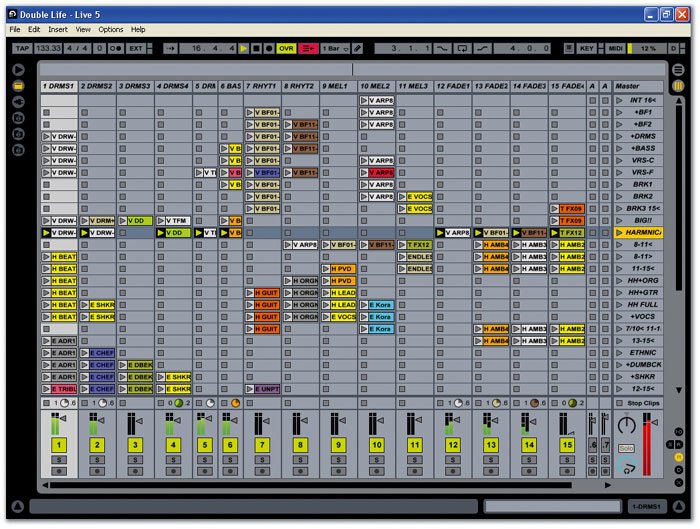
Ableton Live is an innovative digital audio workstation (DAW) that’s particularly favored by electronic music producers, DJs, and live performers. It’s designed to help you create, arrange, and edit music in a flexible environment. What sets Ableton Live apart is its dual functionality as a linear arrangement view and a non-linear session view, catering to different workflow preferences.
Features of Ableton Live
Ableton Live offers an array of features that make it a versatile tool for music production. Key features include:
- Session View and Arrangement View: The session view helps in improvisation and live performances, while the arrangement view is great for detailed editing and arranging your tracks.
- Audio and MIDI Effects: The software comes loaded with a variety of effects to manipulate sound, including reverb, delay, compression, and more.
- Max for Live: This feature enables you to create custom devices and effects, expanding the capabilities of your workflow.
- Various Instruments: Ableton Live includes a variety of virtual instruments and samples that can be readily used for producing music.
Getting Started with Ableton Live
To begin your journey into the world of Ableton Live, you’ll first need to install the software. Here are the basic steps to initiate the installation process.
System Requirements
Before installing Ableton Live, it’s crucial to ensure that your computer meets the system requirements:
| Requirement | Minimum | Recommended |
|---|---|---|
| OS | Windows 10 / macOS 10.13 | Windows 10 / macOS 11 |
| Processor | Intel or AMD Dual-Core | Multi-Core Processor |
| RAM | 8 GB | 16 GB or more |
| Free Disk Space | 3 GB (installation) | Additional for projects |
Installation Procedure
- Download: Visit the official Ableton website and download the installer for your operating system.
- Run the Installer: Follow the instructions provided by the installer. Make sure to select the necessary components required for your workflow.
- Activation: After installation, you will need to activate your copy of Ableton Live using a serial number or an Ableton ID.
Navigating the Interface
Once you have installed Ableton Live, familiarizing yourself with the interface is essential for effective usage.
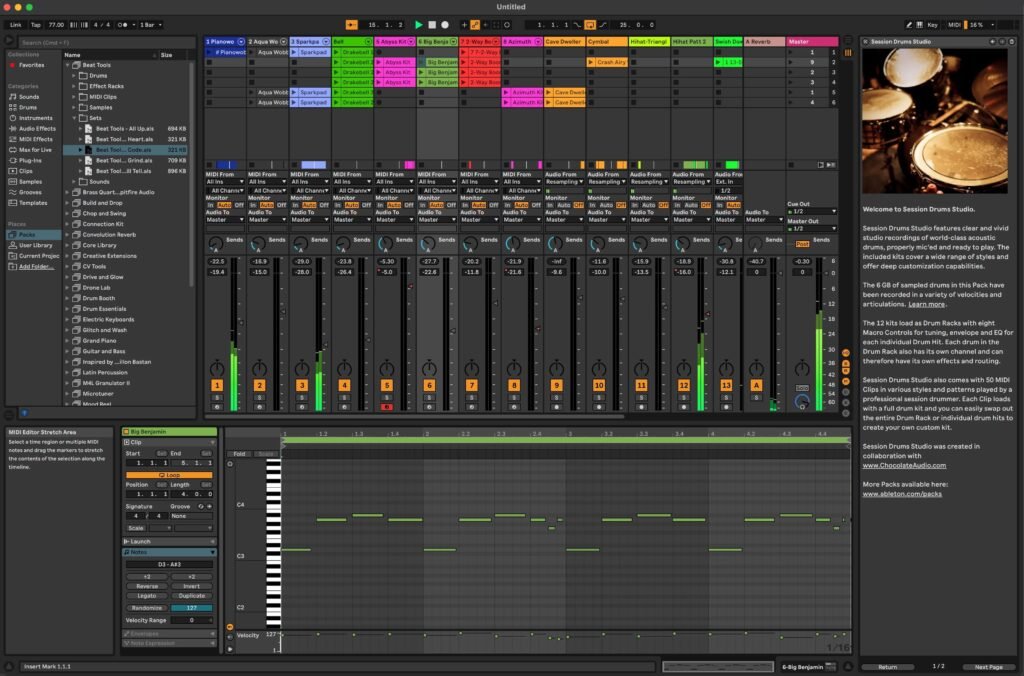
Layout of Ableton Live
Ableton’s layout might seem overwhelming at first glance, but it is quite intuitive once you get accustomed to it.
- Top Bar: Displays the menu for file options, editing, and settings.
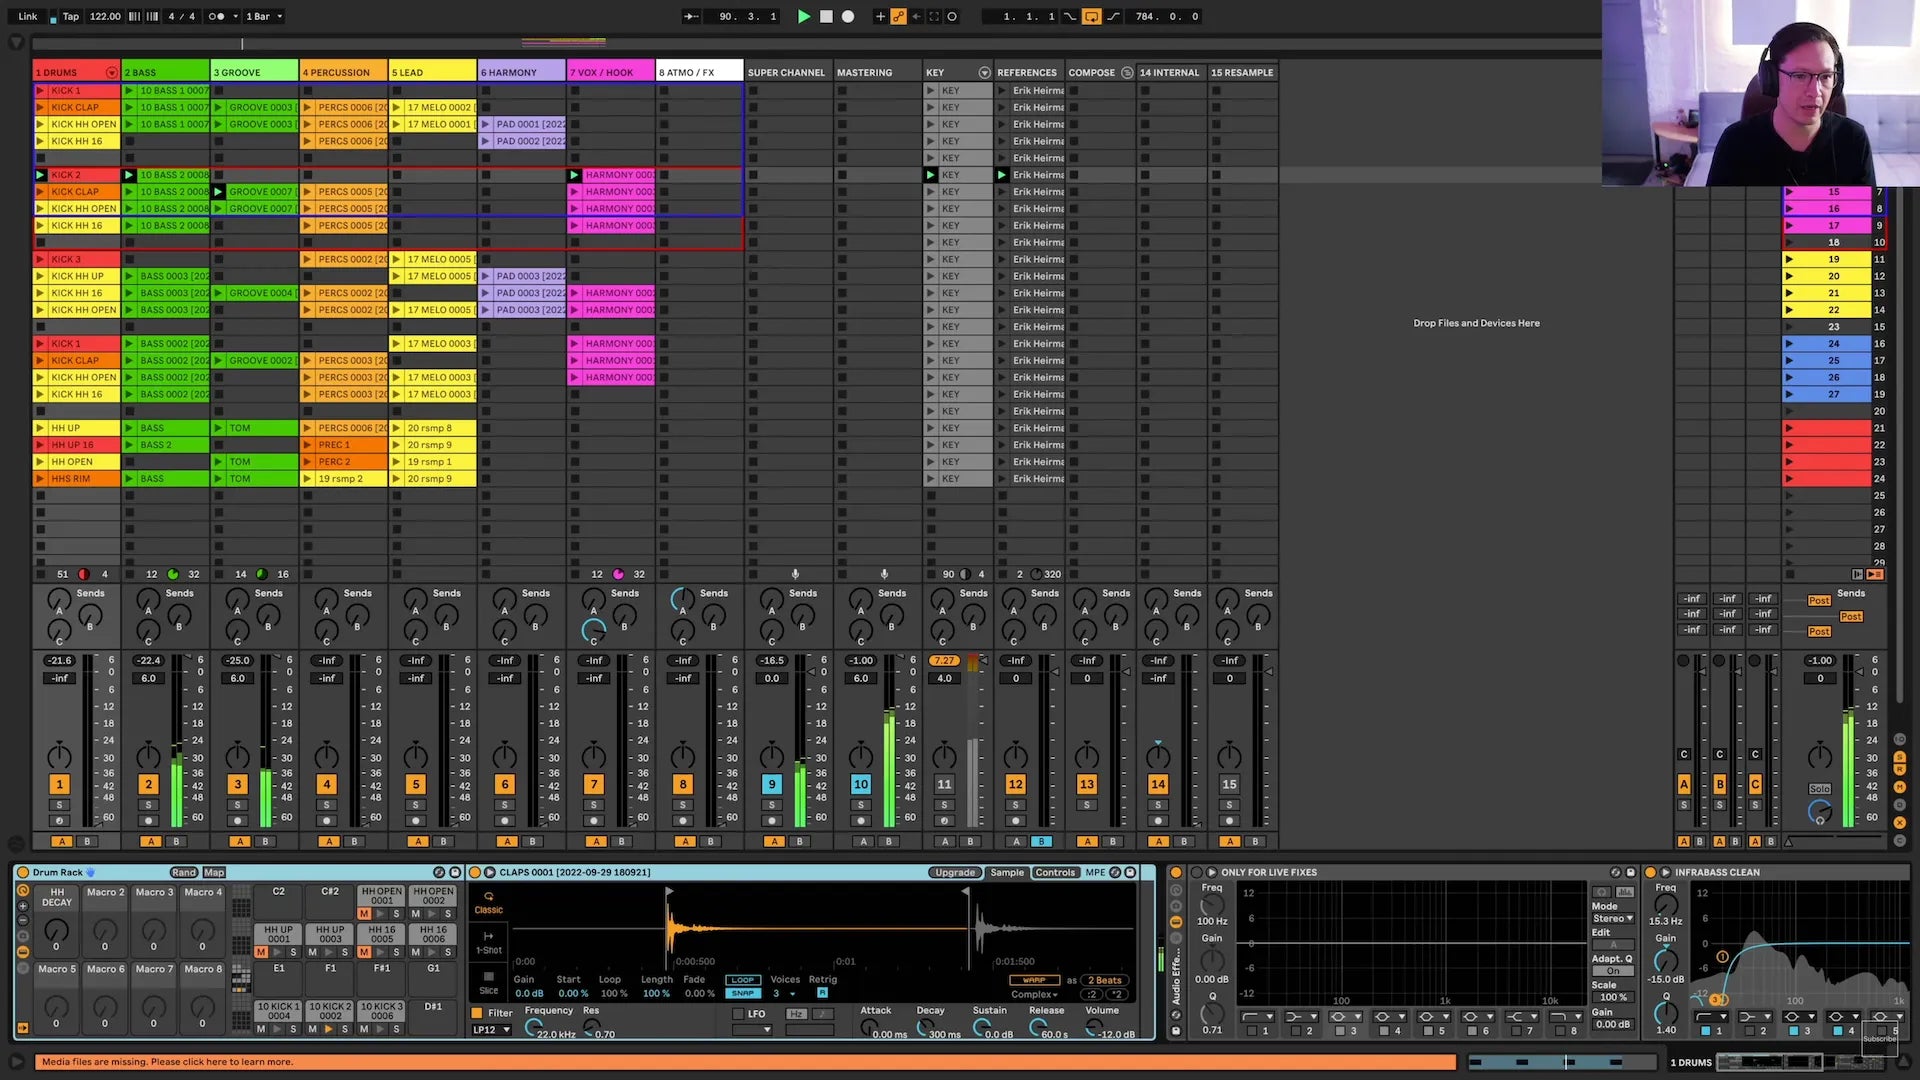
- Session View: This grid-based layout is designed for launching clips and improvisation.
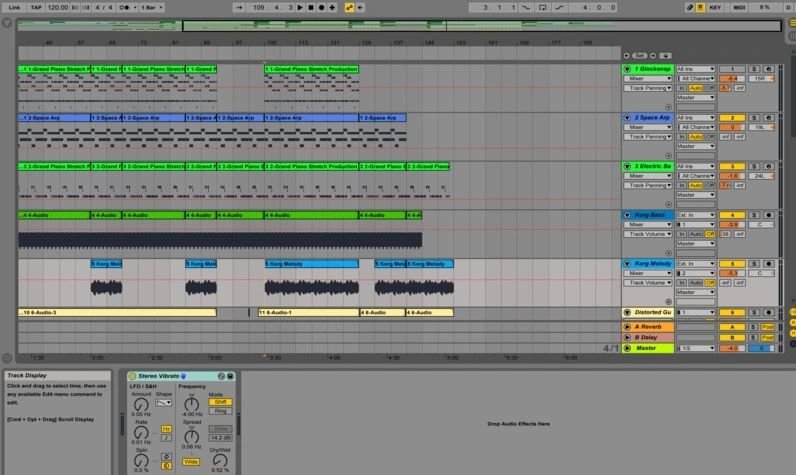
- Arrangement View: This is where you detail your track arrangement, making it easier to see the entirety of your project.
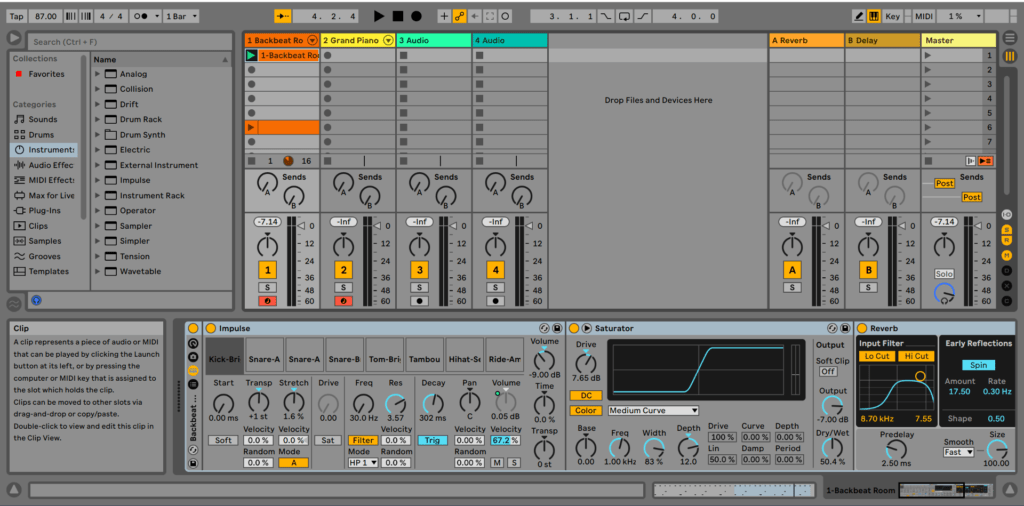
- Device View: Located at the bottom, this section is where you can add and manipulate effects and instruments.
Customizing the Interface
You can customize the layout to fit your workflow better. You can hide panels, rearrange your workspace, or even color-code your clips for better organization.
Creating Your First Project
Now that you’re familiar with the interface, let’s step into the world of creation.
Starting a New Project
To start a new project, simply select “New Live Set” from the file menu. You’ll be greeted with a blank slate where you can begin creating your music.
Adding Instruments and Samples
- Instruments: Ableton comes with several built-in instruments like Simpler, Drum Rack, and Analog. Drag your desired instrument into a MIDI track.
- Samples: You can also import samples. Just drag an audio file from your library onto an audio track in the session or arrangement view.
Recording Audio and MIDI
To record audio or MIDI, ensure your audio interface or MIDI controller is set up correctly in the preferences.
- Recording Audio: Select an audio track and click the record button.
- Recording MIDI: Select a MIDI track, choose an instrument, and hit the record button while playing your MIDI controller.
This image is property of dt7v1i9vyp3mf.cloudfront.net.
Arranging Your Tracks
Arranging your music is where the magic happens, and it’s crucial to develop a structured workflow.
Using Clips in Arrangement View
In the arrangement view, you can drag clips from the session view into the timeline. Organizing these clips allows you to build your song structure, such as intro, verse, chorus, and outro.
Looping and Quantizing
Loops are essential in music production. You can loop a section by dragging the ends of the clip or using the loop settings in the clip view. Quantizing the notes will help in aligning them to the grid, ensuring your rhythms are tight.
Mixing Your Tracks
Mixing is a vital part of the music production process. It involves balancing the levels of each track, applying effects, and ensuring your final product sounds cohesive.
Adjusting Levels and Panning
You can use the mixer section to adjust the volume levels of tracks. Panning your tracks left or right can help create space in your mix.
| Control | Function |
|---|---|
| Faders | Adjust volume levels |
| Pan knobs | Determine stereo placement |
| Solo buttons | Isolate a track for focus |
| Mute buttons | Silence a track |
Adding Effects
Ableton Live provides a plethora of audio effects to enhance your sound:
- Reverb: Adds space and depth.
- Delay: Creates echoes and rhythms.
- Compression: Controls dynamics and maintains levels.
Automation
Automation allows you to control various parameters over time, creating movement in your mix. You can automate volume, effects, and more using the envelope controls in the clip or track view.
This image is property of img1.wsimg.com.
Finalizing Your Track
After mixing, it’s time to finalize your track and prepare it for release.
Mastering Basics
Mastering involves preparing and transferring your mixed audio from a source to a data storage device. The goal is to achieve a relatively consistent sound across all playback systems.
- Use a Limiter: This helps in maximizing the loudness without clipping your audio.
- Equalization: Make necessary adjustments to the frequency balances.
- Reference Tracks: Compare your track with similar professional recordings to gauge quality.
Exporting Your Track
Once you’re satisfied with the final mix, it’s time to export:
- Go to “File”> “Export Audio.”
- Select the desired settings, such as file type, bitrate, and destination.
- Click “Export” to render your project.
Performing Live with Ableton
One of the unique aspects of Ableton Live is its capacity for live performances. You can use the session view to trigger clips and manipulate sounds on the fly.
Setting Up Your Performance
- Create Clips: Prepare audio or MIDI clips in advance.
- Assign MIDI Controllers: If you have hardware, set it up to control various parameters in your live set.
- Practice Your Set: Familiarity with your setup is crucial. Ensure you rehearse multiple times before performing live.
Tips for Successful Live Shows
- Stay Organized: Keep your session view tidy for quick access during performance.
- Engage with Your Audience: Make eye contact and react to the vibe of the crowd.
- Plan Transitions: Smooth transitions can elevate your performance.
This image is property of sonicboombap.com.
Continuous Learning and Improvement
Mastering Ableton Live is an ongoing journey. Here are some ways you can continue improving your skills:
Online Tutorials and Courses
Investing time in online courses or tutorials can help you learn advanced techniques. Websites like YouTube, Coursera, or platforms specifically for music production offer rich resources.
Community Engagement
Join forums and communities where you can share your work, receive feedback, and learn from others. Platforms like Reddit, Ableton’s official forums, and Facebook groups can be highly beneficial.
Collaborate with Others
Working with other musicians can provide new insights and enhance your skills. Consider collaborating on projects or just exchanging ideas.
Conclusion
Mastering the art of Ableton Live DAW can open up a world of creative possibilities for you. From understanding its interface to honing your mixing skills, the journey is both rewarding and fulfilling. Although it may take time and practice, your dedication will surely pay off. As you navigate through your musical endeavors, remember that the heart of music production lies in expressing yourself and enjoying the process. Keep experimenting, learning, and growing, and before long, you may find yourself producing tracks that resonate deeply, not just with you, but with listeners worldwide.
This image is property of www.rapidflow.shop.
