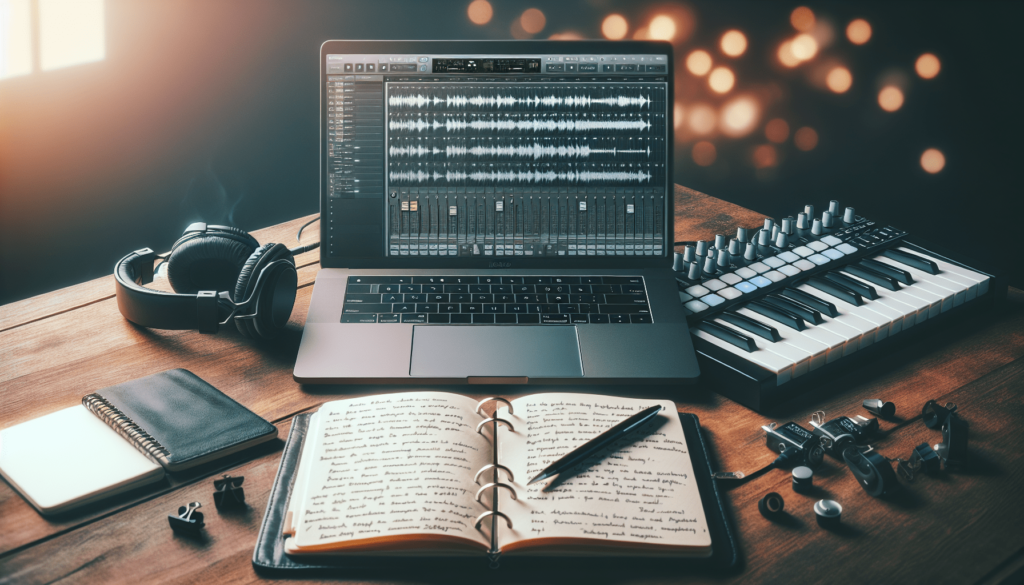
Have you ever wondered how to take your music production skills to the next level? Whether you’re a beginner trying to understand the basics or an experienced producer looking for advanced techniques, the Logic Pro Wiki can be an invaluable resource. This comprehensive guide offers a wealth of information that you can tap into for tips and tricks to enhance your workflow and musical creations.
Understanding Logic Pro
Logic Pro is a powerful digital audio workstation (DAW) used by music producers, sound designers, and musicians around the globe. But what makes it so special? This software offers comprehensive tools for recording, editing, and mixing music. From virtual instruments to effects, it has everything you need to bring your musical ideas to life.
The User Interface
When you first open Logic Pro, the user interface may seem overwhelming. However, understanding its layout can significantly improve your productivity. The main elements include the workspace, the inspector, the mixer, and the transport controls.
- Workspace: This is where you arrange your tracks and edit your music.
- Inspector: Here, you can find settings and parameters for the currently selected track.
- Mixer: A crucial aspect for balancing levels, adding effects, and managing your sessions.
- Transport Controls: These controls allow you to play, stop, rewind, and record.
Familiarizing yourself with these components will help you get the most out of your music production experience.
Getting Started with Logic Pro
If you’re new to Logic Pro, you might feel a bit lost initially. But no need to worry! Here are some essential steps to help you get started.
Setting Up Your Project
Creating a new project is as easy as clicking on “File” and then “New.” You’ll need to select whether you want to start with a blank project, a template, or an empty audio file. Templates can be particularly useful if you want to start quickly without setting everything up from scratch.
Choosing Your Audio Interface
Your audio interface is a critical part of your music production setup. It serves as the bridge between your computer and your audio equipment. When choosing an interface, consider factors such as sound quality, the number of inputs, and compatibility with Logic Pro.
Recording Basics
Now that you have your project set up, it’s time to learn how to record!
Creating Tracks
To start recording, you need to create audio or software instrument tracks. Simply click the “+” button in the tracks area to add new tracks according to your needs. Each track can hold different types of audio files or MIDI data, which gives you flexibility in how you approach your music.
MIDI Recording
Logic Pro allows you to easily record MIDI information using a MIDI keyboard or through the built-in Musical Typing feature. Once you’re ready to record, select your software instrument track, click the record button, and play away. After recording, you can edit the MIDI notes in the Piano Roll Editor, making it super convenient to fine-tune your melodies.

Editing Your Music
Editing is a crucial step in music production. It’s where you refine your recordings and ensure everything sounds just right.
Basic Editing Tools
Logic Pro offers various tools to help you edit your audio and MIDI tracks. Some essential tools include:
- Pointer Tool: Used for selecting and moving regions.
- Scissors Tool: Helps you cut regions at any point.
- Zoom Tool: Allows you to zoom in or out for a closer look at your audio waveforms or MIDI notes.
Understanding how to use these tools effectively will make your editing process more efficient.
Quantizing MIDI
Sometimes, your MIDI performances might not be perfectly in time. That’s where quantization comes into play. By selecting your MIDI notes and choosing a quantization value, you can align them to the nearest beat or subdivision, tightening up your performance and making your music sound more polished.
Mixing Your Tracks
With your audio and MIDI tracks recorded and edited, it’s time to focus on mixing, which involves balancing levels, applying effects, and ensuring that all elements of your track work harmoniously together.
Setting Levels
One of the essential aspects of mixing is adjusting the levels of each track so that everything sits well in the mix. Start by setting a rough mix level for each track to create balance and prevent distortion.
Utilizing EQ
Equalization (EQ) is a vital tool for mixing. By boosting or cutting certain frequencies, you can shape the sound of each track within the mix. For instance, if your vocals sound muddy, you may want to cut some lower frequencies to give them clarity.
Adding Effects
Effects like reverb, delay, and compression can add depth and character to your tracks. Applying these effects thoughtfully can enhance your mix significantly. Logic Pro comes equipped with various built-in effects that you can customize for your needs.
Using Loops and Samples
Logic Pro gives you access to a library of loops and samples that can help you produce music quickly.
Understanding Loops
Loops are pre-recorded segments of audio or MIDI that you can use in your tracks. They’re perfect for adding variety and complexity without having to record everything from scratch. You can simply drag and drop loops directly into your project, making the process quick and easy.
Working with Samples
If you prefer to create your own sounds, sampling provides an excellent way to do this. You can record sounds from the environment, instruments, or found sounds, then manipulate these samples within Logic Pro to fit your musical needs.

Automation Techniques
Automation allows you to adjust parameters over time automatically, adding dynamics and interest to your mix.
Understanding Automation
You can automate various aspects of your track, such as volume, pan, and effects. For example, you might want to gradually increase the volume of an instrument over time during a build-up, which helps create tension and anticipation in your track.
How to Create Automation
In Logic Pro, to create automation, simply click the “Automation” button in the toolbar. Choose which parameter you want to automate, then draw the automation lines in the track area. It’s a straightforward process that can significantly enhance the expressive potential of your music.
Exporting Your Music
Once your track is mixed and you’re satisfied with the overall sound, it’s time to export your final project.
File Formats
Logic Pro lets you export your music in various file formats, including WAV, AIFF, and MP3. The format you choose will depend on how you plan to distribute your music. For example, if you’re planning to release your track on streaming platforms, you might want to choose WAV for the highest quality.
Exporting Your Project
To export your music, go to “File” and click on “Bounce.” Here, you’ll have options to bounce your entire project or selected regions. Make sure to choose your preferred file settings before finalizing the process.
Learning Resources
The Logic Pro wiki and online community can be excellent places to gather tips, tutorials, and solutions to specific challenges you may encounter.
Useful Online Tutorials
YouTube and many online teaching platforms offer a plethora of video tutorials that cover everything from basics to advanced techniques. Searching for specific topics can lead you to gems that provide valuable insight directly related to what you’re trying to learn.
Participating in Forums
Joining forums or social media groups dedicated to Logic Pro can also provide support and motivation. It’s a chance to connect with other users, share your work, and get feedback.
Troubleshooting Common Issues
Every producer faces challenges while working, but understanding some common issues can ease your learning curve.
Audio Playback Issues
Occasionally, you might experience audio playback issues. This can be due to buffer settings. If you’re experiencing latency, try adjusting your audio buffer size in the preferences.
MIDI Connectivity Problems
Sometimes, you might have trouble connecting your MIDI devices. Make sure that any necessary drivers are installed and that your MIDI device is correctly configured in the “MIDI Studio” section of Logic Pro.
Advanced Techniques
Once you feel comfortable with the basics, you can start looking into advanced techniques to further enhance your music production.
Layering Sounds
Layering involves stacking multiple sounds or instruments to create a richer and fuller sound. For instance, you might layer two different synth patches to create a unique pad sound that fills more space in your mix.
Sound Design
Logic Pro allows you to dive into sound design, creating your unique sounds using the built-in synths and effects. By tweaking parameters like oscillation, filtering, and modulation, you can craft sounds that are distinctive and tailored to your musical style.
Collaborating with Other Musicians
Collaboration can be a great way to expand your creativity and learn new techniques. Logic Pro supports collaboration in various ways.
Sharing Projects
You can easily share your Logic Pro projects with other users. Most musicians share their .logicx files, which allows collaborators to add their contributions, whether writing, recording, or mixing.
Online Collaboration Tools
Consider using online tools like Splice or Soundtrap that facilitate remote collaboration. These platforms allow you to share projects, track changes, and work collectively in a streamlined manner.
Conclusion
As you venture into the world of music production with Logic Pro, remember that continual learning and practice are key. The Logic Pro wiki provides an extensive array of tips and techniques, helping you navigate through its many functionalities. Don’t hesitate to utilize online resources, engage in communities, and explore the software to realize your musical vision. Every producer’s journey is unique, and embracing the process will undoubtedly lead you to exciting discoveries in your music. So, keep experimenting, and enjoy creating! Happy producing!


