Have you ever wondered how to take your music mixes from good to great? If you’re looking to elevate your mixing game, PreSonus Studio One 3 could be exactly what you need. This digital audio workstation (DAW) is packed with features designed to help you fine-tune your tracks and achieve that polished sound. Let’s embark on this journey to mastering your mixes together!
Understanding PreSonus Studio One 3
PreSonus Studio One 3 is more than just a digital audio workstation—it’s a comprehensive music production environment. It allows you to record, arrange, and mix your music all in one place, making it an attractive option for musicians and producers alike.
It’s user-friendly and offers a single-window workspace that helps keep everything organized. Whether you are a complete beginner or an experienced producer, you’ll find the layout intuitive and adaptable to your needs.
Key Features of Studio One 3
Drag-and-Drop Functionality
One of the standout features of Studio One 3 is its drag-and-drop functionality. This feature allows you to quickly add effects, samples, and instruments to your project simply by dragging them into the workspace. It streamlines your workflow and keeps you focused on creating rather than getting lost in menus.
Integrated MIDI Support
MIDI support is highly comprehensive in Studio One 3. You can easily input notes using a MIDI keyboard or draw them directly on the piano roll. This flexibility lets you create intricate arrangements without constraints.
Advanced Audio Manipulation
Whether you need to stretch audio, change pitch, or quickly slice and dice parts of your recording, Studio One 3 provides an array of tools that help to manipulate audio efficiently. You can also use the built-in audio effects to shape your sound in real-time.
Studio One Remote
For those who prefer to work on the go, Studio One Remote enables you to control your DAW via your mobile device. This seamless integration allows you to mix, adjust tracks, and navigate your session from anywhere, enhancing your creativity without being tethered to your workstation.
Preparing for the Mixing Process
Before you can master your mixes, it’s crucial to prepare properly. Setting your session up correctly can make a significant difference in the final outcome. Here’s how you can effectively prepare your project in Studio One 3.
Setting up Your Session
-
Create a New Project: Open PreSonus Studio One 3 and create a new project. Decide on the sample rate and bit depth based on your requirements; usually, 24-bit/48 kHz is ideal for mixing.
-
Import Audio Tracks: Import the audio files you wish to mix. You can easily drag them into the workspace or use the import function.
-
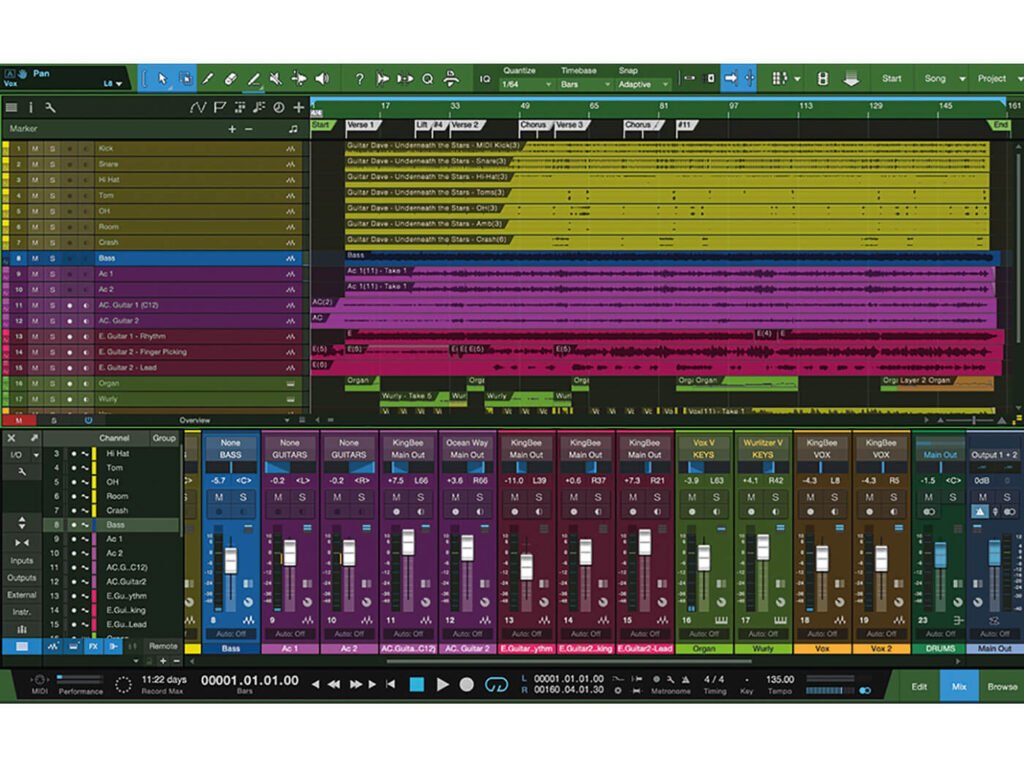
Organize Your Tracks: Rename your audio tracks and color-code them for better visibility. A well-organized session reduces confusion and enhances your workflow.
Achieving a Balanced Mix
Achieving balance during the mixing process is essential. This involves adjusting levels, panning, and ensuring that each track can be heard clearly without one overpowering the others.
Level Balancing
Start by adjusting the fader levels for each of your tracks. Mindfully listen and find harmonious levels for each instrument and vocal. Remember, achieving balance doesn’t mean every track should be equally loud; it’s about how they coexist in the mix.
Panning
Once your levels are set, panning adds depth and space to your mix. By positioning tracks in the stereo field, you can create a more immersive listening experience. For instance, you might pan your drums slightly to one side and your guitars to the other for a more natural feel.

This image is property of i.ytimg.com.
Using Effects and Plugins
Effects and plugins are essential tools in your mixing toolkit. They can dramatically alter the sound of your tracks and bring them to life.
Equalization (EQ)
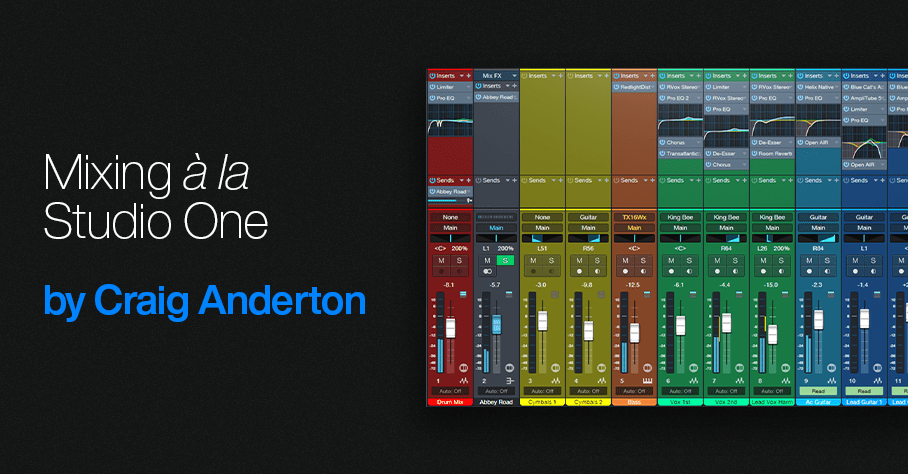
Equalization is one of the most powerful tools you have at your disposal. It lets you boost or cut specific frequency ranges in your tracks to achieve a cleaner mix. Studio One 3 comes with a built-in Channel Strip that includes an EQ section.
-
High-Pass Filtering: Often, unnecessary low-end frequencies can muddy your mix. Use a high-pass filter to eliminate anything below 20-30 Hz from tracks that don’t need it.
-
Boosting Frequencies: If an instrument sounds dull, you might consider boosting its higher frequencies to bring it to life. Just be careful not to overdo it – moderation is key!
Compression
Compression helps to control the dynamic range of your tracks. By reducing the volume of the loudest parts and raising the quietest ones, compression helps keep your mix cohesive.
- Use Cases for Compression: It’s particularly useful on vocals, drums, and bass. For instance, when mixing vocals, a good compressor allows the softer parts to be more audible, while still keeping the louder sections controlled.
Reverb and Delay
Reverb and delay add depth and spaciousness to your mixes.
-
Reverb: This effect mimics how sound behaves in a physical space. Use it to create ambiance around your instruments. Different types of reverb can produce various sonic environments, so feel free to experiment!
-
Delay: Delay adds echoes to your sounds. It can fill empty spaces and create rhythmic interest. Try different types of delay (mono, stereo, ping-pong) to see how they interact with your mix.
Fine-Tuning Your Mix
Once you have all your effects and levels set, it’s time for the final adjustments. This stage of mixing is crucial for achieving that professional sound.
Automation
Automation allows you to create dynamic changes in your mix over time. You can automate volume, panning, and effects parameters to add interest as the song progresses.
- Volume Automation: Use volume automation to bring elements in and out of focus at different parts of your track. This can create a bigger emotional impact.
Referencing and Critical Listening
It’s helpful to reference other songs that have a similar sound to what you’re aiming for. Pick a track that inspires you and compare it to your mix. Listen for differences in frequency balance, dynamics, and overall texture.
- Critical Listening: Put on your headphones or monitor speakers and listen critically. It’s easy to get lost in your mix, so taking breaks can help reset your ears!

This image is property of musictech.com.
Exporting Your Mix
After you’ve perfected your mix, it’s time to export it. Studio One 3 makes the exporting process simple, allowing you to export a single track or your entire session.
Exporting Options
-
Export Mixdown: Go to the ‘Song’ menu and select ‘Export Mixdown.’ You will be prompted with options to choose the file type (WAV, MP3), sample rate, and bit depth.
-
Begin Render: Once you’ve set your parameters, start the rendering process. Studio One will mix down all the audio tracks into a single file for you.
Understanding the Final Output
After exporting your mix, listen to it on different systems—like car speakers, headphones, and even smartphones. This will help you understand how your mix translates across various playback systems.
Mastering Your Track
While mixing is about balancing individual tracks, mastering is the final touch that brings everything together. It’s the process of preparing your mixed track for distribution.
Mastering in Studio One 3
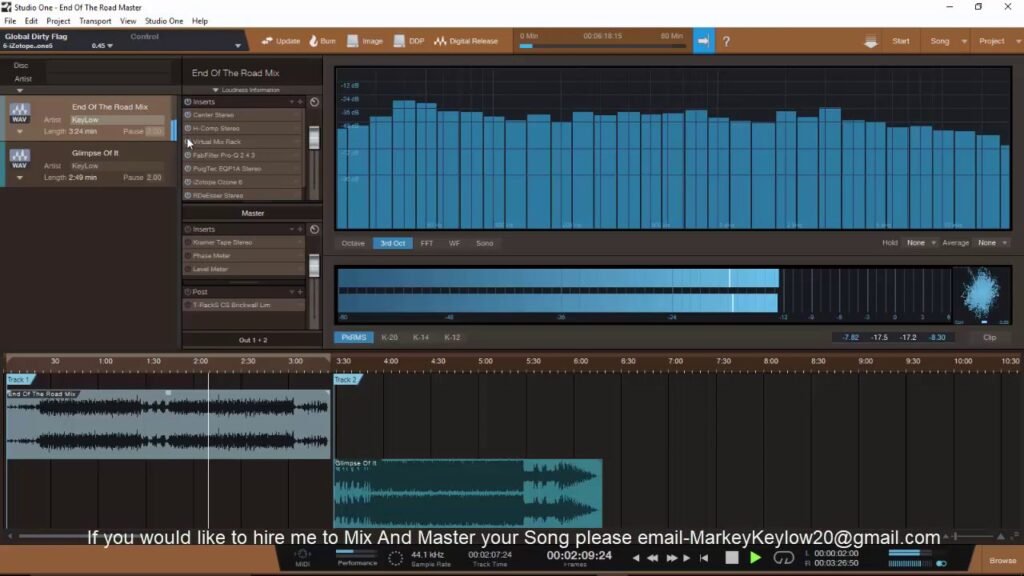
Studio One provides various tools for mastering your track. You can use the Project page for a streamlined mastering experience. Here’s how you can proceed:
-
Import Your Final Mix: Load your exported mix into the Project page of Studio One.
-
Apply Mastering Effects: Use effects like multiband compression, limiting, and EQ to enhance your final track. The goal is to achieve an overall balanced sound that maintains the energy of your mix.
Final Checks Before Mastering
-
Listen at Different Levels: Sometimes subtle issues only become apparent at louder volumes. Make sure to listen at various volume levels.
-
Check for Clipping: Ensure that your track does not clip. A clipped signal can distort, detracting from your overall sound quality.
-
Reference Other Masters: Compare your mastered track with commercially released tracks in a similar genre to see how your mastering stacks up.

This image is property of blog.presonus.com.
Continuing Your Journey with Studio One 3
Mastering your mixes in PreSonus Studio One 3 can improve your music production significantly. Remember, like any skill, practice makes perfect. Continue to experiment with different techniques, effects, and workflows to find what works best for you.
Learning Resources
Don’t hesitate to seek out online tutorials, forums, or local workshops. The music production community is vast and friendly. Connecting with fellow producers can lead to valuable insights and feedback on your work.
Experimentation is Key
Finally, remember to keep experimenting! The beauty of music production lies in creativity. Don’t be afraid to try innovative mixing techniques or unconventional effects to carve out your unique sound.
By embracing the powerful tools within PreSonus Studio One 3 and adopting these actionable strategies, you’re well on your way to mastering your mixes and elevating your musical creations!


